Making Cloud Observations: Tips and Tricks Using the GLOBE Observer App - Clouds Protocol
Making Cloud Observations with the GLOBE Observer App
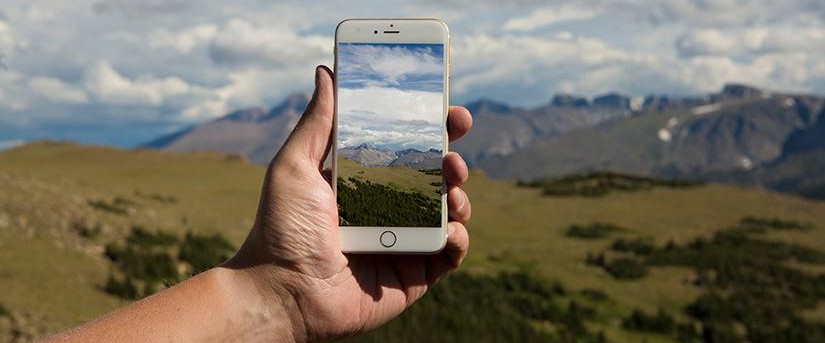
Submit your cloud observations to NASA with The GLOBE Program’s app, GLOBE Observer. If you log into the app using your GLOBE account information, you can also sync your measurements to your GLOBE data entries. To get started, download The GLOBE Observer App for iOS and Android devices.
Cloud Observation Tips & Tricks
To help you make high-quality cloud observations, we've created a step-by-step guide to walk you through the process. We've also compiled a list of tips and tricks for each step to assist you with cloud identification.
Note: When you use The GLOBE Observer app to make cloud measurements, your latitude, longitude, and time of day fields are automatically populated by the app.
Use the GLOBE Observer App
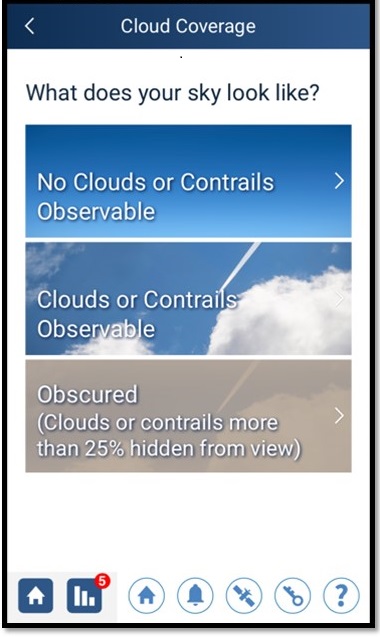
Visually check to see if your sky is clear or if there are any contrails or clouds present. Aerosols or other particulates may obscure your view, so be sure to note if that's the case.
Note: An obscured sky may contain rain, snow, dust, fog, smoke, haze, volcanic ash, ocean spray, or blowing sand that makes it difficult to get a clear view of the clouds. Additionally, if there's fog while you're taking measurements, you should classify it as a low-level cloud and an obscuration.
Tip: Remember to position yourself in an area free of buildings or other landscape features that may impede your view. Then, make sure to only measure clouds slightly above the horizon. Clouds directly on the horizon will be hard to distinguish, so only focus on those in your area.
Trick: When you're looking for contrails, repeatedly scan the sky. Some are short lived and can last for a very short amount of time.


Important: When observing the sky, never look directly at the sun!
Sky color and visibility are indicators of the amount of aerosols or particles in the sky. They can turn the sky from clear and blue to hazy and tinged with yellow, orange, or other colors.
The sky's color is best observed when there are no other clouds present, as it's easy to confuse thin, high clouds with a pale blue sky.
Tip: Report sky color when there are no clouds present. A clear sky contains around 0-10% cloud cover.
Trick: Find the bluest part of the sky and report the color that you see.
The sky's visibility is heavily impacted by the number of aerosols or particles in the sky that are near the ground.
Learn more about sky visibility
Tip: Observing visibility is difficult at dusk or at night, so only take visibility measurements during the day.
Trick: Visibility can be easier to measure when you have a point of reference. To take a better estimate of the sky's visibility, identify a landmark in the distance and determine how well you can define its features.

Estimate the total cloud cover in the sky, ranging from just a few clouds to completely overcast. Then, determine how many clouds occupy each level of the sky. A cloud's level is based on the position of its base which can be low, medium, or high in the sky.
Learn more about estimating cloud cover
Tip: First, look at all the total amount of clouds and report your best percentage guess based on the example photos in the app. Remember to also include any contrails you see in this first estimate. Then, make your best guess at the amount of clouds in each level.
Trick: To improve your accuracy, split the sky into four quadrants, one for each cardinal direction. Then, take coverage and level measurements in each sector and average your measurements together to get an estimate over the entire sky.
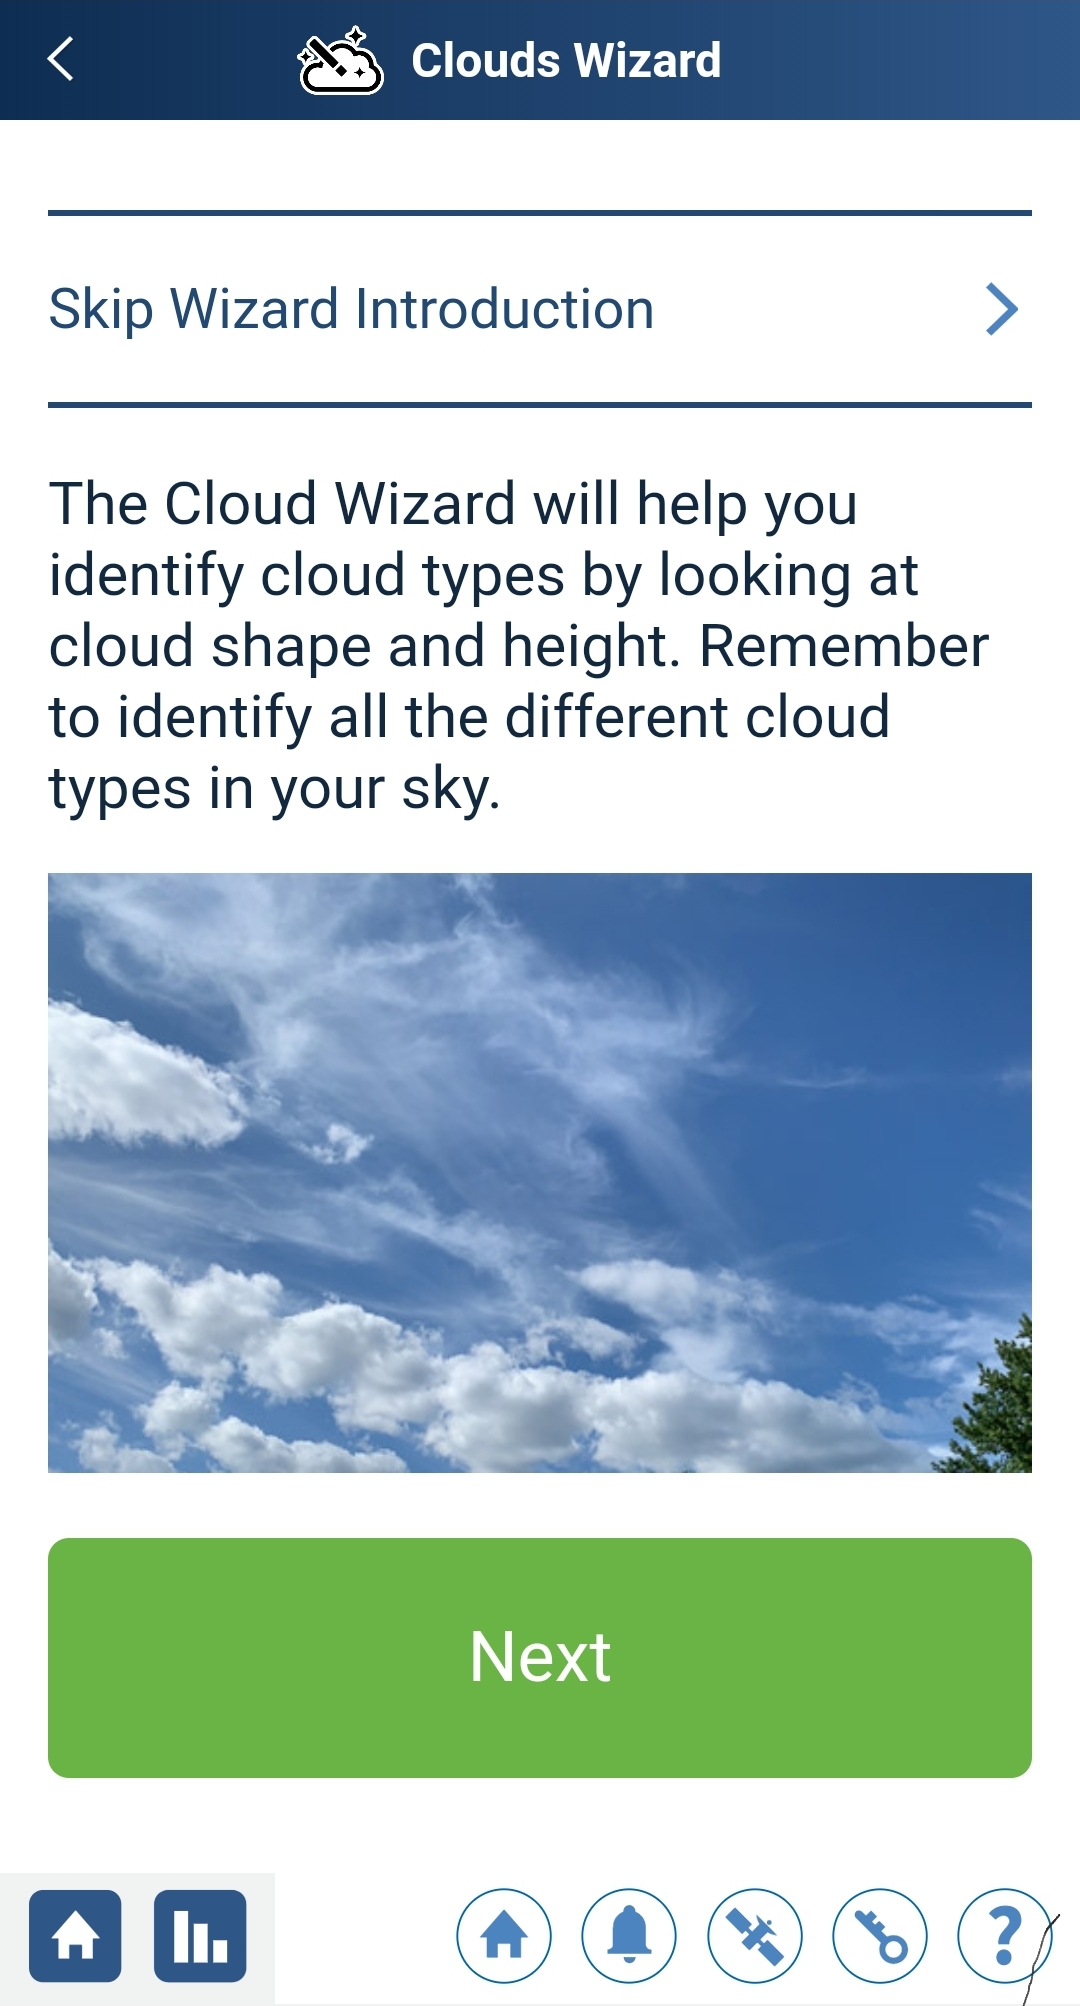
Properly identifying clouds takes practice. As you start learning to differentiate between the different types of clouds, it can be beneficial to follow a cloud-classification walkthrough. That's why we've created the Cloud Identification Wizard, a detailed and interactive guide that can help you accurately classify the clouds in the sky. We recommend using this Wizard if you're having trouble knowing where to start with cloud identification.
Once you're comfortable identifying the different cloud types, you can manually assign your cloud identifications in the app without using the Cloud Identification Wizard. You can also use the cloud identification chart below taken from the Elementary GLOBE: Clouds Module. To learn more about cloud types, check out our cloud identification lesson plan.
Note: If there's fog while you're taking measurements, you should classify it as a low-level cloud and an obscuration.
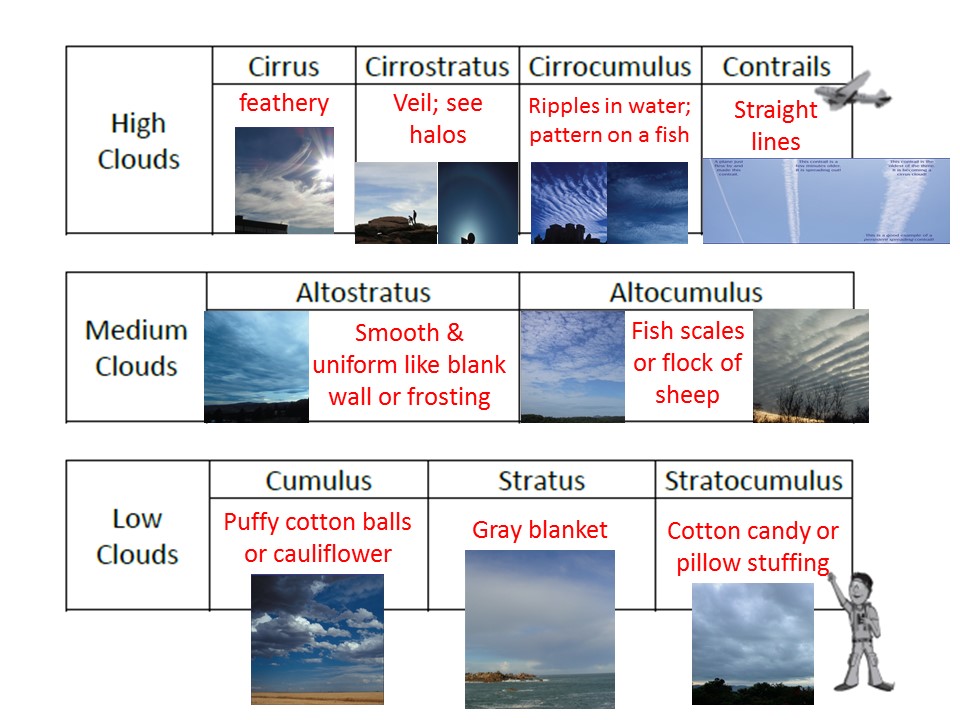
Tip: You can use the size of the puffy cumulus clouds compared to your fist to figure out height. See Dr. Lin Chambers tips to distinguish between cloud types.
Trick: A dichotomous key (or simple yes/no questions) is really helpful. Check out this cloud dichotomous key based on a Cloud Dichotomous Key developed by Dr. Tina Cartwright Marshall University, West Virginia.
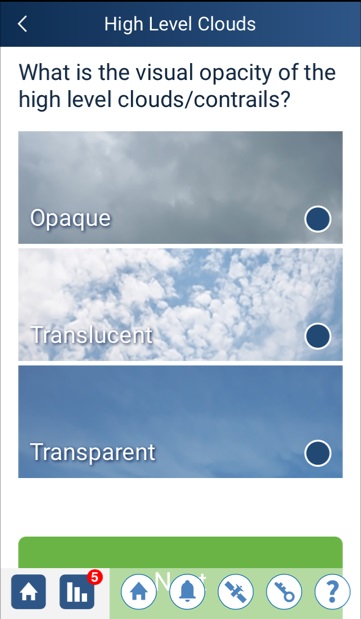
Clouds aren't created equal, and that includes how they interact with energy. For example, not all clouds cast shadows, and each cloud type interacts differently with the sun's incoming radiation. Opacity, or how much light a cloud lets through, gives us an idea of how they are interacting with the Sun's rays.
Learn more about how to measure cloud visual opacity
Tip: Estimate a general appearance of all the clouds in the sky instead of each individual cloud. You can use the chart below to help you estimate the clouds' opacity.
| Opacity | General Appearance |
| Opaque | Gray |
| Translucent | Bright white |
| Transparent | Milky bluish white |
Trick: Take your opacity observations from the middle of the clouds for the best opacity measurements. The clouds' edges may differ from other areas.


Surface conditions are important for scientists to help verify satellite cloud data. For example, when measurements are taken from space, it can be very difficult for satellites to penetrate thick clouds or determine the difference between cloud cover and snow. Having ground-truth data helps researchers understand what's going on at the Earth's surface.
Learn more about measuring surface conditions
Tips & Tricks: Taking surface measurements requires specialized equipment to make proper readings. If you don't have the appropriate equipment, feel free to skip this step. To learn more about how to take these measurements, check out our Atmosphere eTraining module.
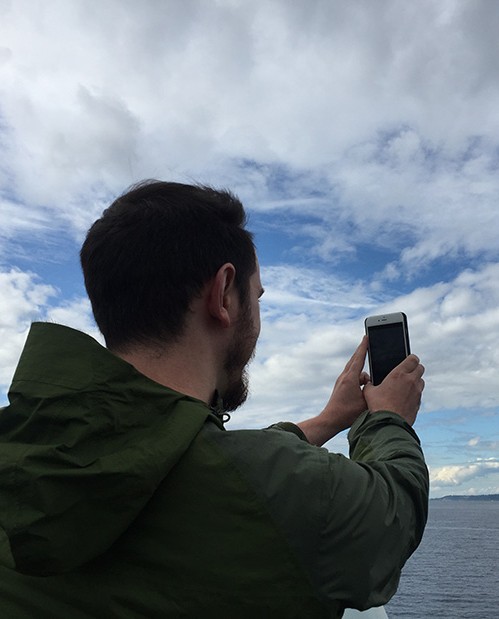
After you log all your measurements, you can take a picture of the sky to visually document the conditions. The app will guide your shot to the right spot in each cardinal direction and help you orient your photos at the correct angle. Once your camera is correctly aligned, the app will automatically take the picture.
Tip: Holding your phone with both hands gives you a more stable base and may help you better orient your camera.
Trick: Pictures of the "Up" direction can be difficult if the sun is directly above you. To avoid looking at the sun, unmute your phone and direct it upwards until you hear the picture being taken.
The NASA cloud team matches GLOBE Observer cloud observations to corresponding satellite data. If your cloud observation is synced with a satellite passing overhead, you'll receive a Satellite Match email from NASA within 1 week of submitting your report.
Learn more about syncing your measurements to satellite data
Tip : Make your cloud observations within 15 minutes of a satellite passing over your location. To find out when a satellite will pass overhead, check out our satellite overpass calculator. Additionally, the GLOBE Observer app already enables you to receive Satellite Match emails from NASA.
Questions
If you have any questions about taking cloud measurements with the GLOBE Observer app, you can reach out to the GLOBE Clouds team through our contact page.


